I just deployed my first smart contract, and I have to say—it felt surreal seeing my code actually live on the blockchain. Learning Solidity has been a mix of excitement, confusion, and a lot of trial and error, and using Chat GPT to re explain concepts to fully understand them, but I finally got through the basics.
Here’s how it went and what I learned along the way:
Getting Started with Solidity
Before jumping into coding, I had to understand what Solidity actually is and why it’s the go-to language for smart contracts. Basically, if you want to build anything on Ethereum, DeFi, or Web3, Solidity is where it all starts.
I also learned about best practices for learning, like using GitHub, and Discord./
Setting Up My First Smart Contract
Now, this was the part where things got real. To write and test a contract, I needed a Solidity development environment, and the easiest way to start was using Remix IDE, a browser-based tool for smart contract development.
Here’s what I did:
Created a new Solidity file (literally just naming a file felt cool)
Wrote a basic contract that stored a variable
Learned about SPDX License Identifiers (basically a legal label for open-source contracts)
Compiled and deployed the contract on a test network
Understanding Solidity: Variables & Functions
After getting my first contract up, I had to understand how Solidity stores data. I learned about:
• Booleans (true/false values)
• Uint & Integers (numbers)
• Addresses (public Ethereum wallet addresses)
• Bytes (data storage for things like hashes)
Then I wrote my first function to store and update a variable on-chain.
This part made Solidity finally click for me because it showed how smart contracts actually work—you call a function, and it changes data on the blockchain. It’s basically a self-executing program that no one can mess with once deployed.
Expanding Smart Contracts: Arrays, Structs & Mappings
Once I understood variables, I moved on to storing multiple pieces of data, which is super important for things like DeFi apps and NFT collections.
Here’s what I worked with:
Arrays – Storing lists of values
Structs – Bundling multiple data types together
Mappings – Assigning values to keys (like storing balances for different wallets)
At this point, I started seeing how DeFi protocols store user data, and it all made way more sense.
Debugging & Fixing Errors (The Painful Part)
Of course, I ran into errors (because what’s coding without errors?), but I figured out how to debug them using:
⚡ Remix’s error messages & color coding
⚡ Online forums like GitHub & Stack Exchange
⚡ AI tools like Phind (seriously a lifesaver)
I also had to learn the difference between memory, storage, and calldata to avoid gas-wasting mistakes:
• Storage – Permanent on-chain data
• Memory – Temporary data inside functions
• Calldata – Similar to memory but read-only
If you mess this up, your contract becomes expensive to use, so getting it right is important.
Deploying My Smart Contract
Now for the big moment—deploying my contract on a testnet.
Steps I took:
Got testnet ETH from a faucet
Connected MetaMask to the testnet
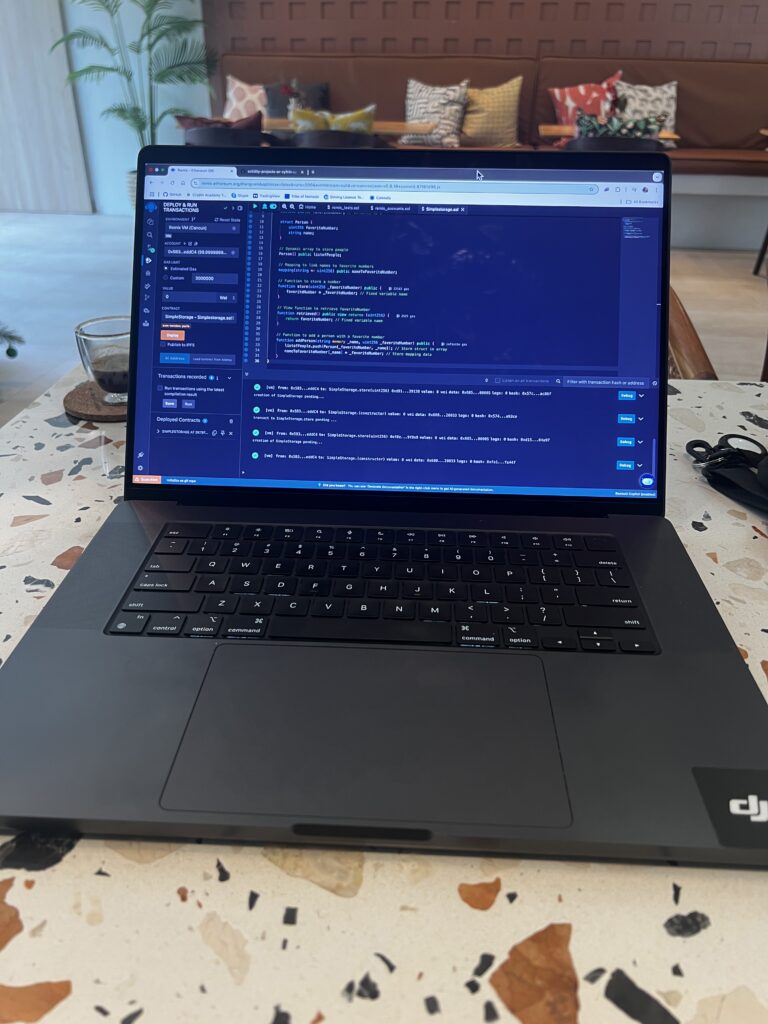
🚀 Deployed the contract using Remix
Watching the transaction go through and seeing my contract live on-chain felt very rewarding.
Final Thoughts: This is Just the Beginning
Launching my first smart contract was a milestone. I finally understand how Ethereum apps are built, and it’s making me even more excited to learn about zkSync, security best practices, and more advanced Solidity concepts.
If you have gotten this far, thanks for reading, and stay tuned on my learning journey of web3!
Peace!
Jordan,