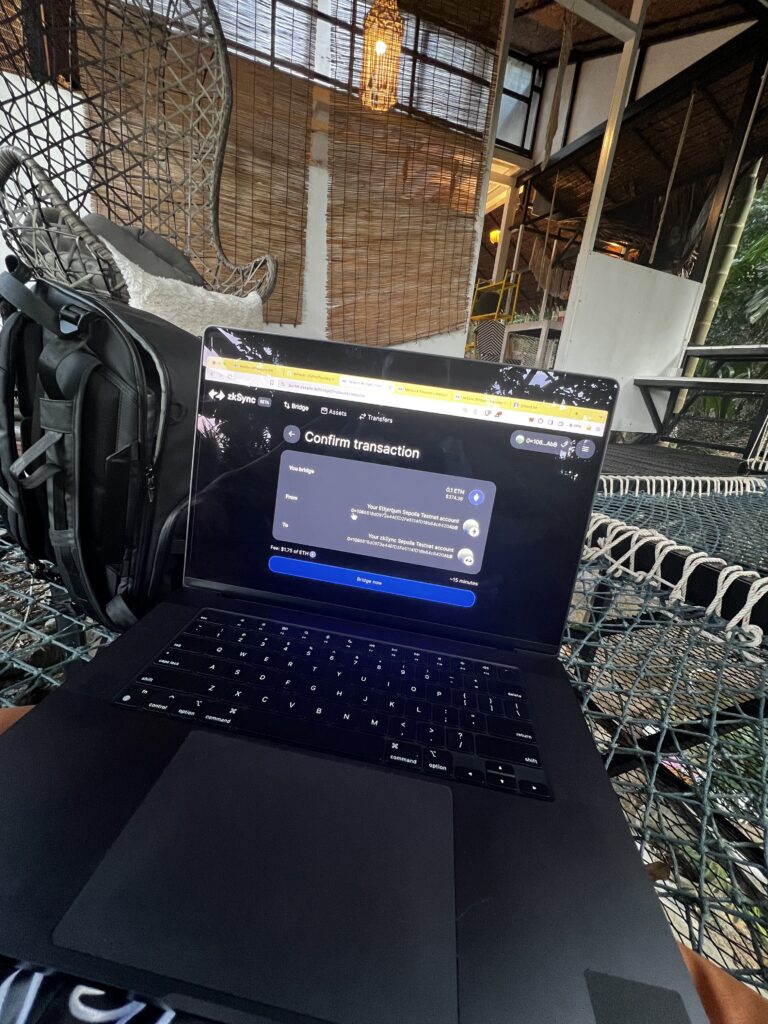
Today I learned and got hands on experience with zkSync! A Layer 2 scaling solution for Ethereum. One of the biggest challenges with Ethereum is high gas fees, making it impractical for many developers to experiment. That’s where zkSync comes in—lower costs, faster transactions, and full Ethereum compatibility.
I learned about Zksync through the solidity 101 course on Cyfrin Updraft.
I may not be a developer, but if i want to make moves and transition into Web3, i need to inform myself as much as possible.
I wanted to document my experience deploying smart contracts on zkSync, from bridging testnet ETH to actually interacting with deployed contracts.
So here was the process
1. Bridging ETH to zkSync Testnet
Before I could deploy anything, I needed test ETH on zkSync Sepolia Testnet. Here’s what I did:
Step 1: Getting Sepolia ETH from a Faucet
- I visited Alchemy Faucet and Chainlink Faucet to grab some test ETH.
- Entered my MetaMask wallet address and waited for the funds to arrive.
Step 2: Using the zkSync Bridge
- I opened the zkSync Bridge.
- Connected my MetaMask wallet (making sure I was on Ethereum Sepolia Testnet).
- Selected the amount of ETH to bridge.
- Confirmed the transaction and waited for it to complete.
Step 3: Adding zkSync Sepolia Testnet to MetaMask
- To interact smoothly, I used Chainlist to add zkSync Sepolia to my MetaMask.
Once I had ETH on zkSync, I was ready to deploy my first contract.
2. Deploying My First Smart Contract on zkSync
I wanted to start simple, so I decided to deploy a basic Solidity smart contract on zkSync.
Step 1: Setting Up Remix for zkSync
- Opened Remix IDE.
- Installed the zkSync Remix Plugin.
Step 2: Writing a Simple Solidity Contract
- I created a new folder named
contractsin Remix. - Wrote a basic contract:
// SPDX-License-Identifier: MIT
pragma solidity ^0.8.0;

contract HelloZKSync {
    string public message = "Hello, zkSync!";
}
Step 3: Compiling & Deploying
- Went to Solidity Compiler, selected Solidity 0.8.x, and clicked Compile.
- Switched to Deploy & Run Transactions, selected zkSync Sepolia Testnet, and clicked Deploy.
And just like that, my contract was live on zkSync!
3. Fixing My First Deployment Issue
Not everything went smoothly! When I first tried deploying, the zkSync plugin didn’t recognize my contract.
The Fix:
- Created a
contractsfolder inside Remix and moved my contract file there. - Recompiled and redeployed, and it worked like a charm!
4. Interacting with My Smart Contract
With the contract deployed, I wanted to test interactions.
Step 1: Selecting the Contract
- Opened Deploy & Run Transactions in Remix.
- Selected my deployed contract instance.
Step 2: Calling Functions
- Clicked message() to retrieve the current message.
- If I wanted to update it, I’d input a new value and execute a transaction.
For more advanced interactions, I plan to use ethers.js or web3.js in a frontend project.
Final Thoughts: Why zkSync Excites Me

This whole process opened my eyes to the power of zkSync. It’s fast, cost-efficient, and developer-friendly, making it an incredible choice for anyone experimenting with smart contracts.
I understand the concept of Zksync, which gets me one step closer to entering the Crypto & Web3 Industry!